What is Hatching?
Areas not only originate from bordering lines, but also from similar structures. The most common structure is the hatching. When drawing, the designer makes use of his perception – close lines and points get perceived as surfaces with different gray-tones. Lines move in the background and different areas consisting of gray-tones move in the focus of the illustrator.
Hatches usually consist of parallel lines, which can be crossed (“cross-hatching”) to achieve an illustration of dark areas. Drawing “fitting” and “coherent” hatches require not only practice and a trained visual perception of the object or view that is being drawn, but also a certain “sense” of choosing the “right” lines that fit the “character” and “style” of the drawing. Whereas a smooth and precise line that conveys experience may look perfect on a certain drawing, it might look completely unfitting and unharmonious on a different drawing. Thus, an illustrator should also aspire to sharpen and develop his/her certain “aesthetic sense” to better form and understand the character of the illustration in his/her mind and in this regard, to maintain a certain consistency, having the certain style in mind.
Things to keep in mind
Beginners often tend to draw with a faster speed than more experienced illustrators. The more time you devote to drawing a line, the more inner emotions you can pour into the illustration. On the other hand, doodling quick lines express spontaneity and leave less room for the thinking mind. That being said, there’s no universal recommendation concerning time and drawing slowlyier doesn’t make you a better illustrator. It can be helpful though, to become aware of your general speed of drawing – self-awareness is a crucial factor to focus on when striving to further develop your drawing skills, since emotions, mood and thoughts are driving influencers in the illustration process.
"Beginners often tend to draw with a faster speed than more experienced illustrators."
Getting technical
When drawing hatches, one has to pay close attention to the surface and texture of the object that you want to draw. Depending on the material and how the surface catches the light, the illustrator can choose to deploy different styles of hatching. Here are 5 different styles that you can choose from:
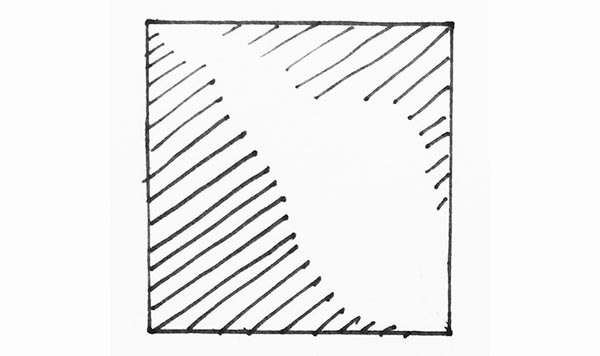
1. Parallel Hatching
Parallel Hatching is one most frequently used and fundamental forms of hatching. In order to let certain areas appear darker, the illustrator draws parallel lines in the area he perceives to be dark. Usually, the illustrator also maintains the same angle he chooses the parallel hatch marks to be in.
2. Contour Hatching
As the name already implies, this technique is more focused on highlighting the contours of the forms of the subject. In addition to indicating space, this style provides a sense of volume and thus gives the viewer more information on the shape of the subject being drawn.
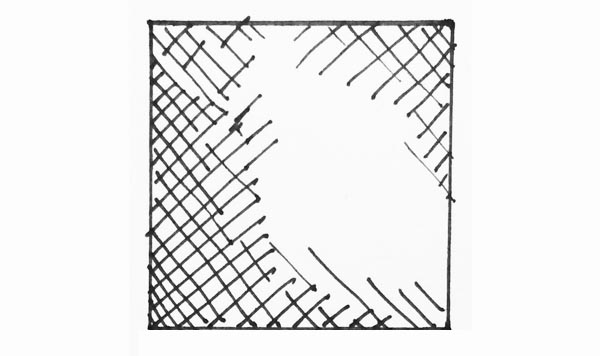
3. Cross-Hatching
Cross-Hatching is a technique which can be found in almost every drawing. After drawing one set of hatch marks, another set is drawn on top, usually in a different angle, which follows the structure or form of the subject that is being drawn.
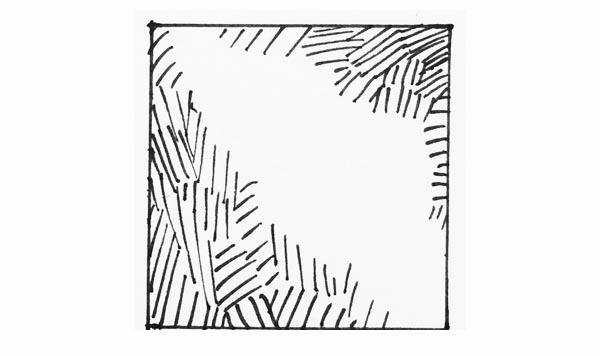
4. Basket-Hatching
This style can is frequently used in modern Comic-book illustrations and is a lot of fun to use – almost like the cross-hatching technique, simply draw sets of hatches, but next to each other, each varying by angle. While it’s fun to use the technique, It takes a lot of practice though to master drawing gradients.
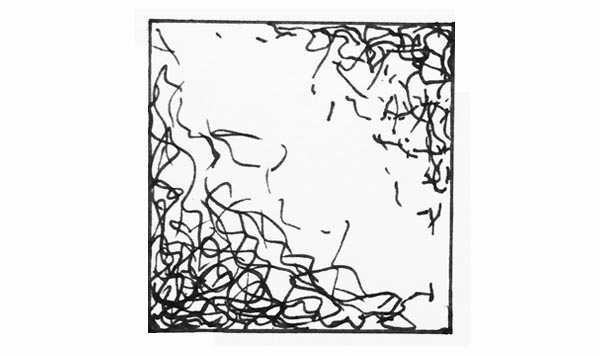
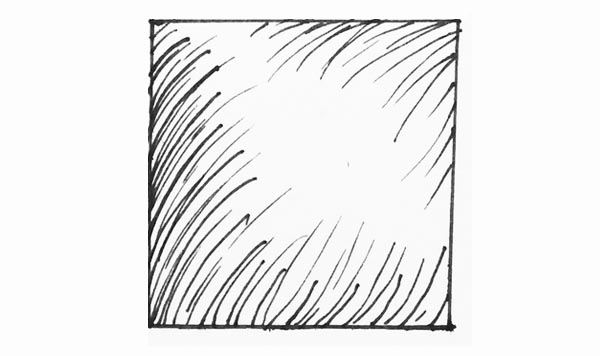
5. Squiggle-Hatching
This style is commonly used when drawing furry or fuzzy objects, such as clothing, a beard or sheep. The best way to achieve this style is to draw random squiggles by “letting loose” and quivering, vibrating or jittering with your drawing hand.
To conclude, …
…we want to give you a few final tips – here are 6 tips you can use to experiment and to better your drawing process:
- A great challenge to improve your drawing skills can be to only focus on drawing hatches without drawing outlines at all.
- Pinch your eyes while looking at the object or view that you intend to draw - doing so will challenge your perception and make it easier to focus on the most relevant parts of the appearance of the object/view.
- Take a step back from your drawing - doing so makes you see the “big picture” and if the areas you drew look fitting.
- Rotate the drawing by 180 degrees to make it harder for your brain to recognize familiar shapes and patterns, which thus lets you focus on other aspects of your illustration.
- Instead of using a fine pencil or pen, use a thick pen, coal or a Q-tip with ink to force yourself to draw less lines and think more about where to put every single line.
- Often times, if the illustrator has to decide whether he should draw a certain part in a more realistic way or in a better-looking way, he/ she chooses to draw the part to be better-looking than to be more realistic.
Related Posts
Nothing found.